Today, for the second time I changed a broken display on a Motorola One. Two years ago, on my first attempt, I thought it to be a real pain in the ass, because you have to disassemble almost the entire device completely. At least if you choose the replacement display mounted on the frame. I did not dare to go and change the bare LC display, thinking this would be even more difficult. Next time I will give it a try though. Anyway, you can buy both versions on Aliexpress for comparatively small money.
Last time I destroyed the ear piece and one cable plug, so I had to order more spare parts and wait again for some more weeks. This time I knew better when and where to be careful, and all went well. The whole operation took a bit over one hour time.
Many people would probably think it a waste of time to repair a low price, 3 year old, smartphone. Well, probably it is. But for me it is worth it to keep the device alive as long as possible. And I really find it satisfying to get the repair done all by myself.
Here I want to demonstrate that it is not so difficult after all, if you are into fine fingerwork, have the right tools, and watch one or two Youtube videos on how to proceed. There are some that I found very helpful.

The device dropped on stone floor about a year ago. Although it was in a protective flip case, one corner splintered badly. It was still fully functional, but I really do not like the look of splintered glass.
So I ordered a replacement display on Aliexpress, and this time I chose not the cheapest. However, it did not seem to matter much… (anyway they sent me a „used“ part, but it is working fine). I also ordered a new battery, since it is quite difficult to get the original one out of the device. Chances are that the battery is damaged after tearing it out – it is stark glued to the display frame.
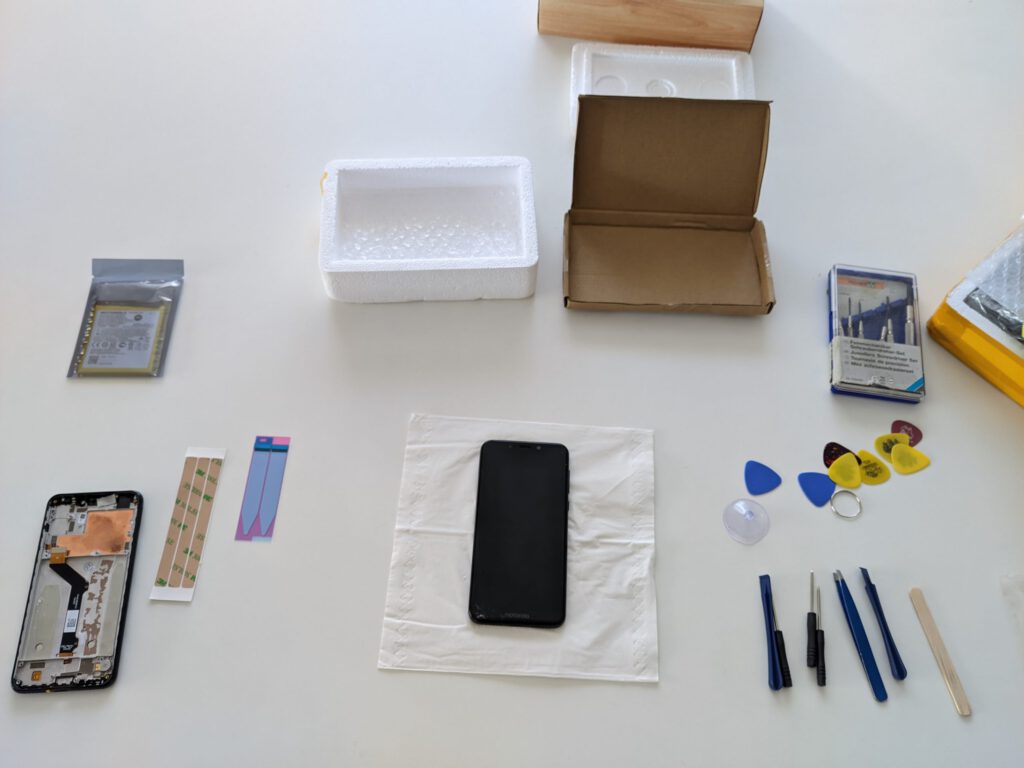
However, prepare yourself for some pretty small parts to handle. You need good eyes, or good glasses, calm hands, decent tools (not too much though), and a hair dryer. Of course you should be able to work with concentration, on a clean desk and in good light.
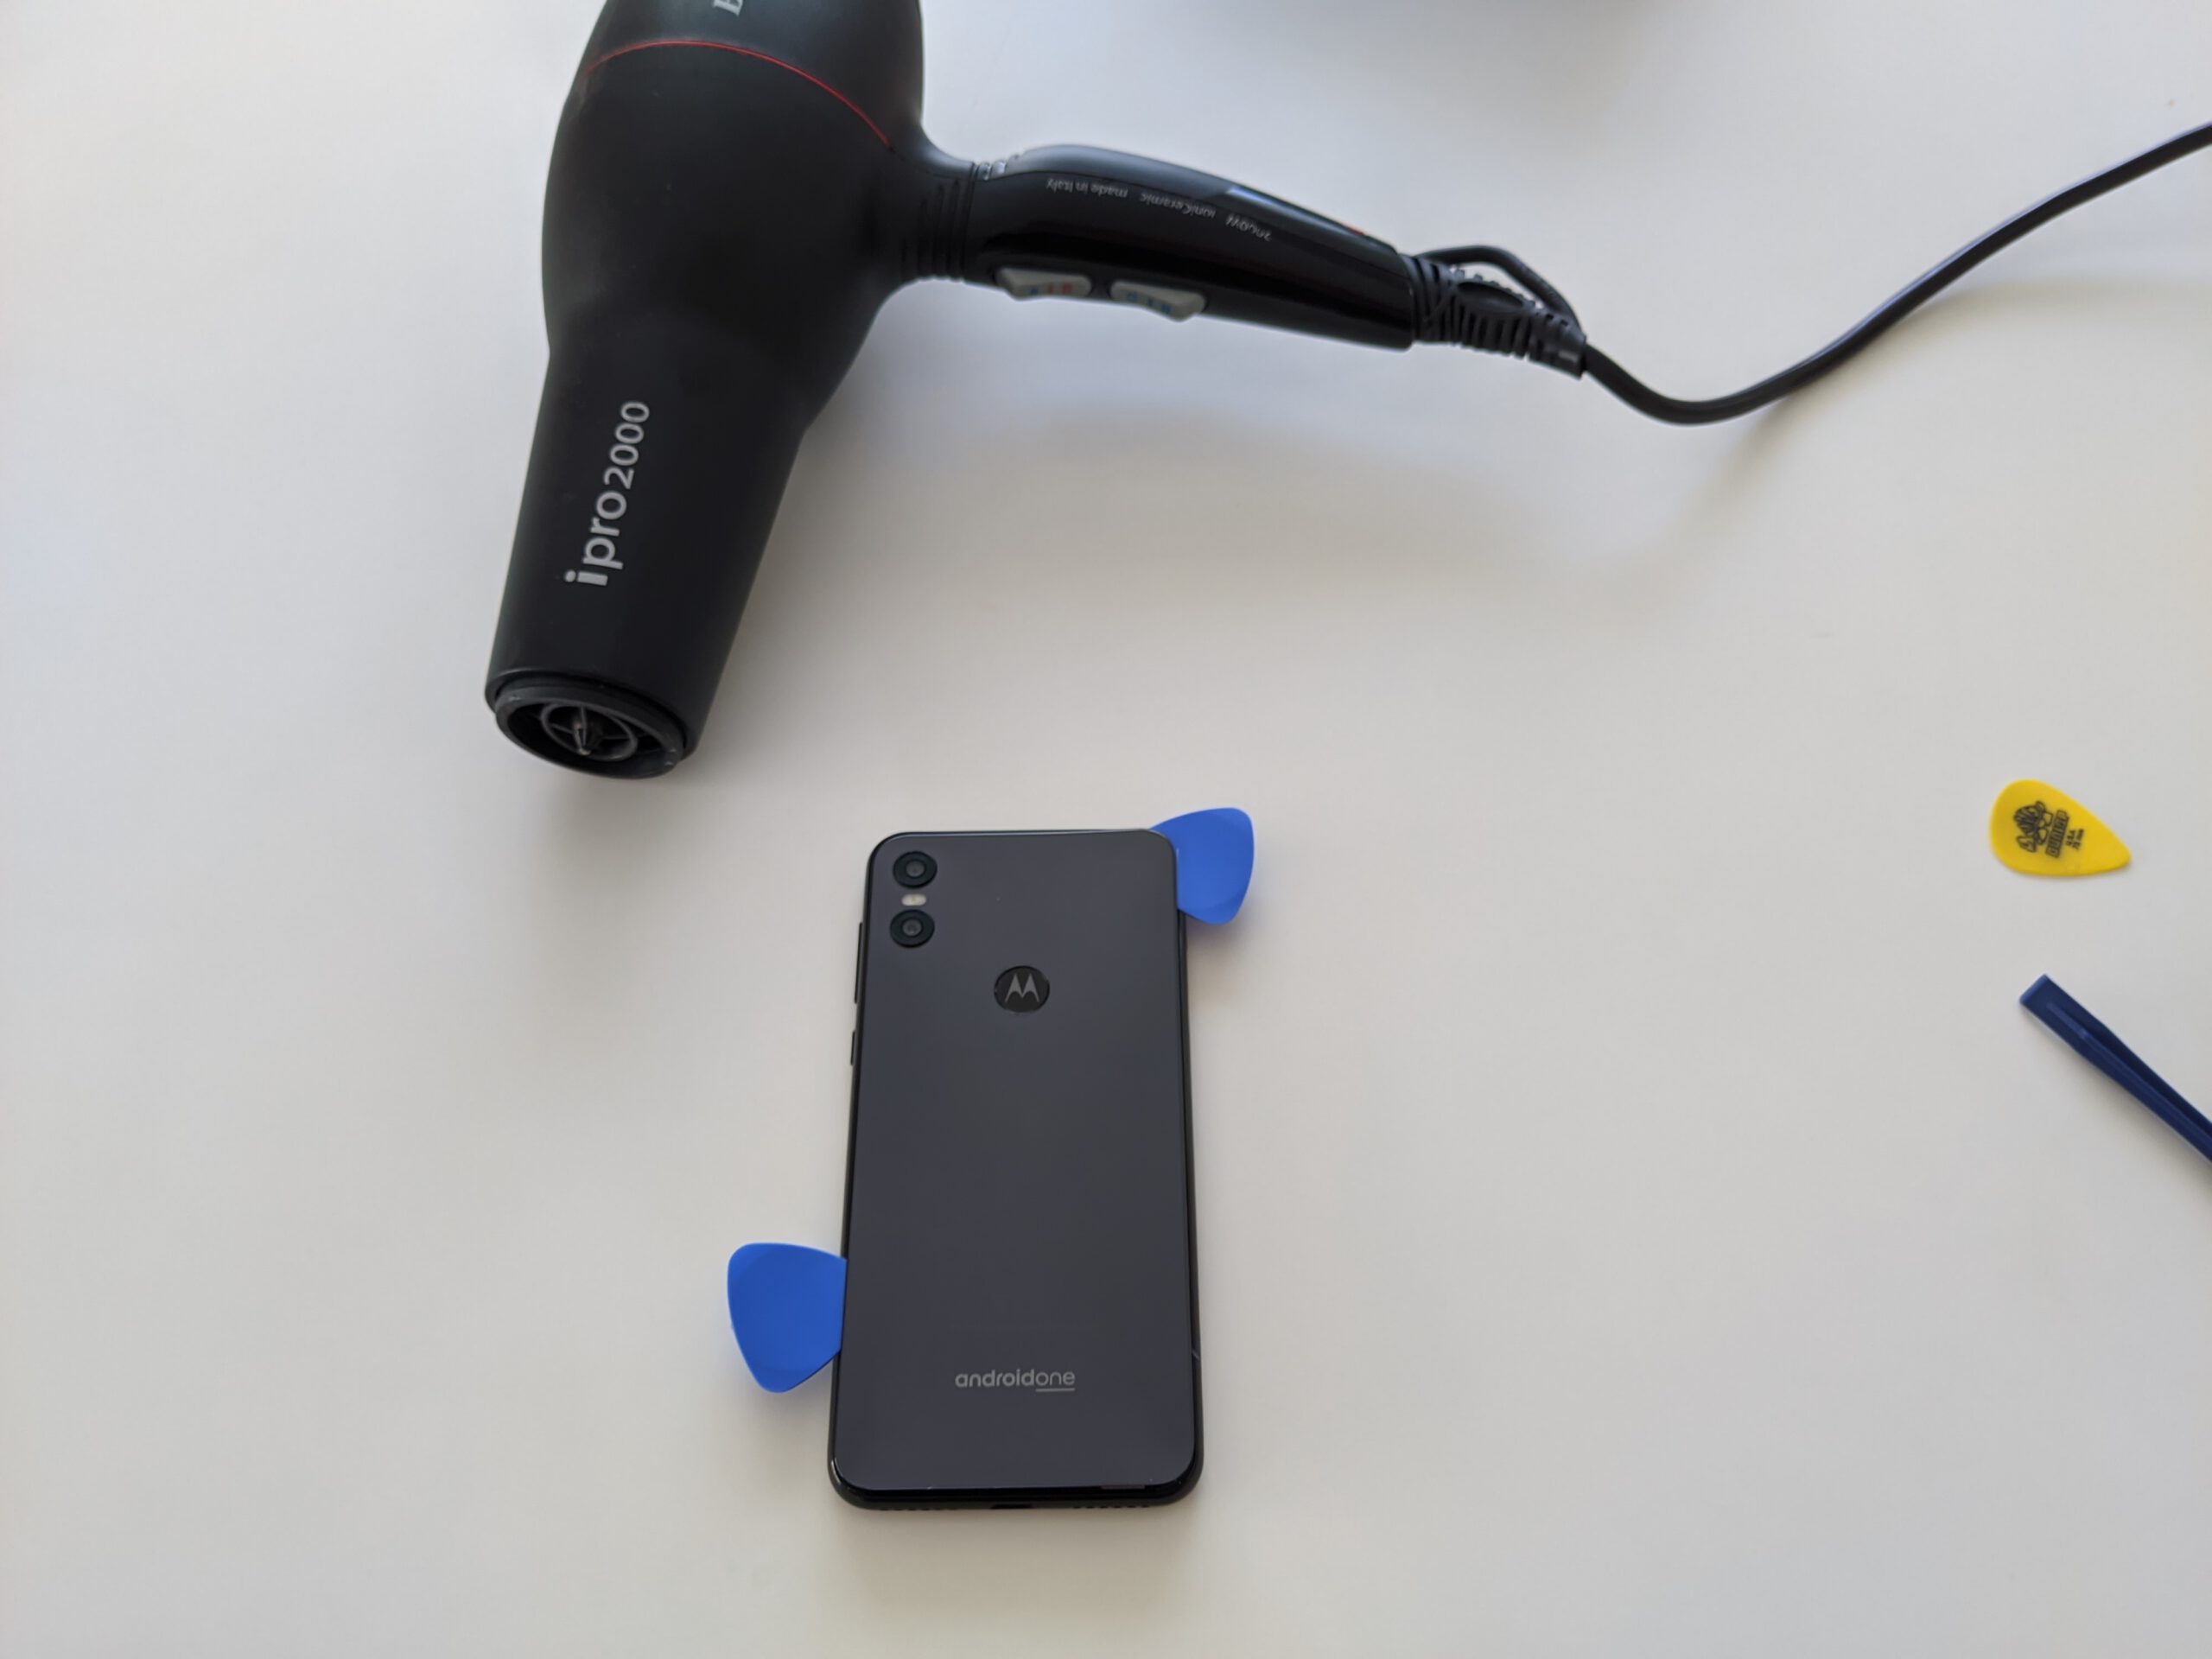
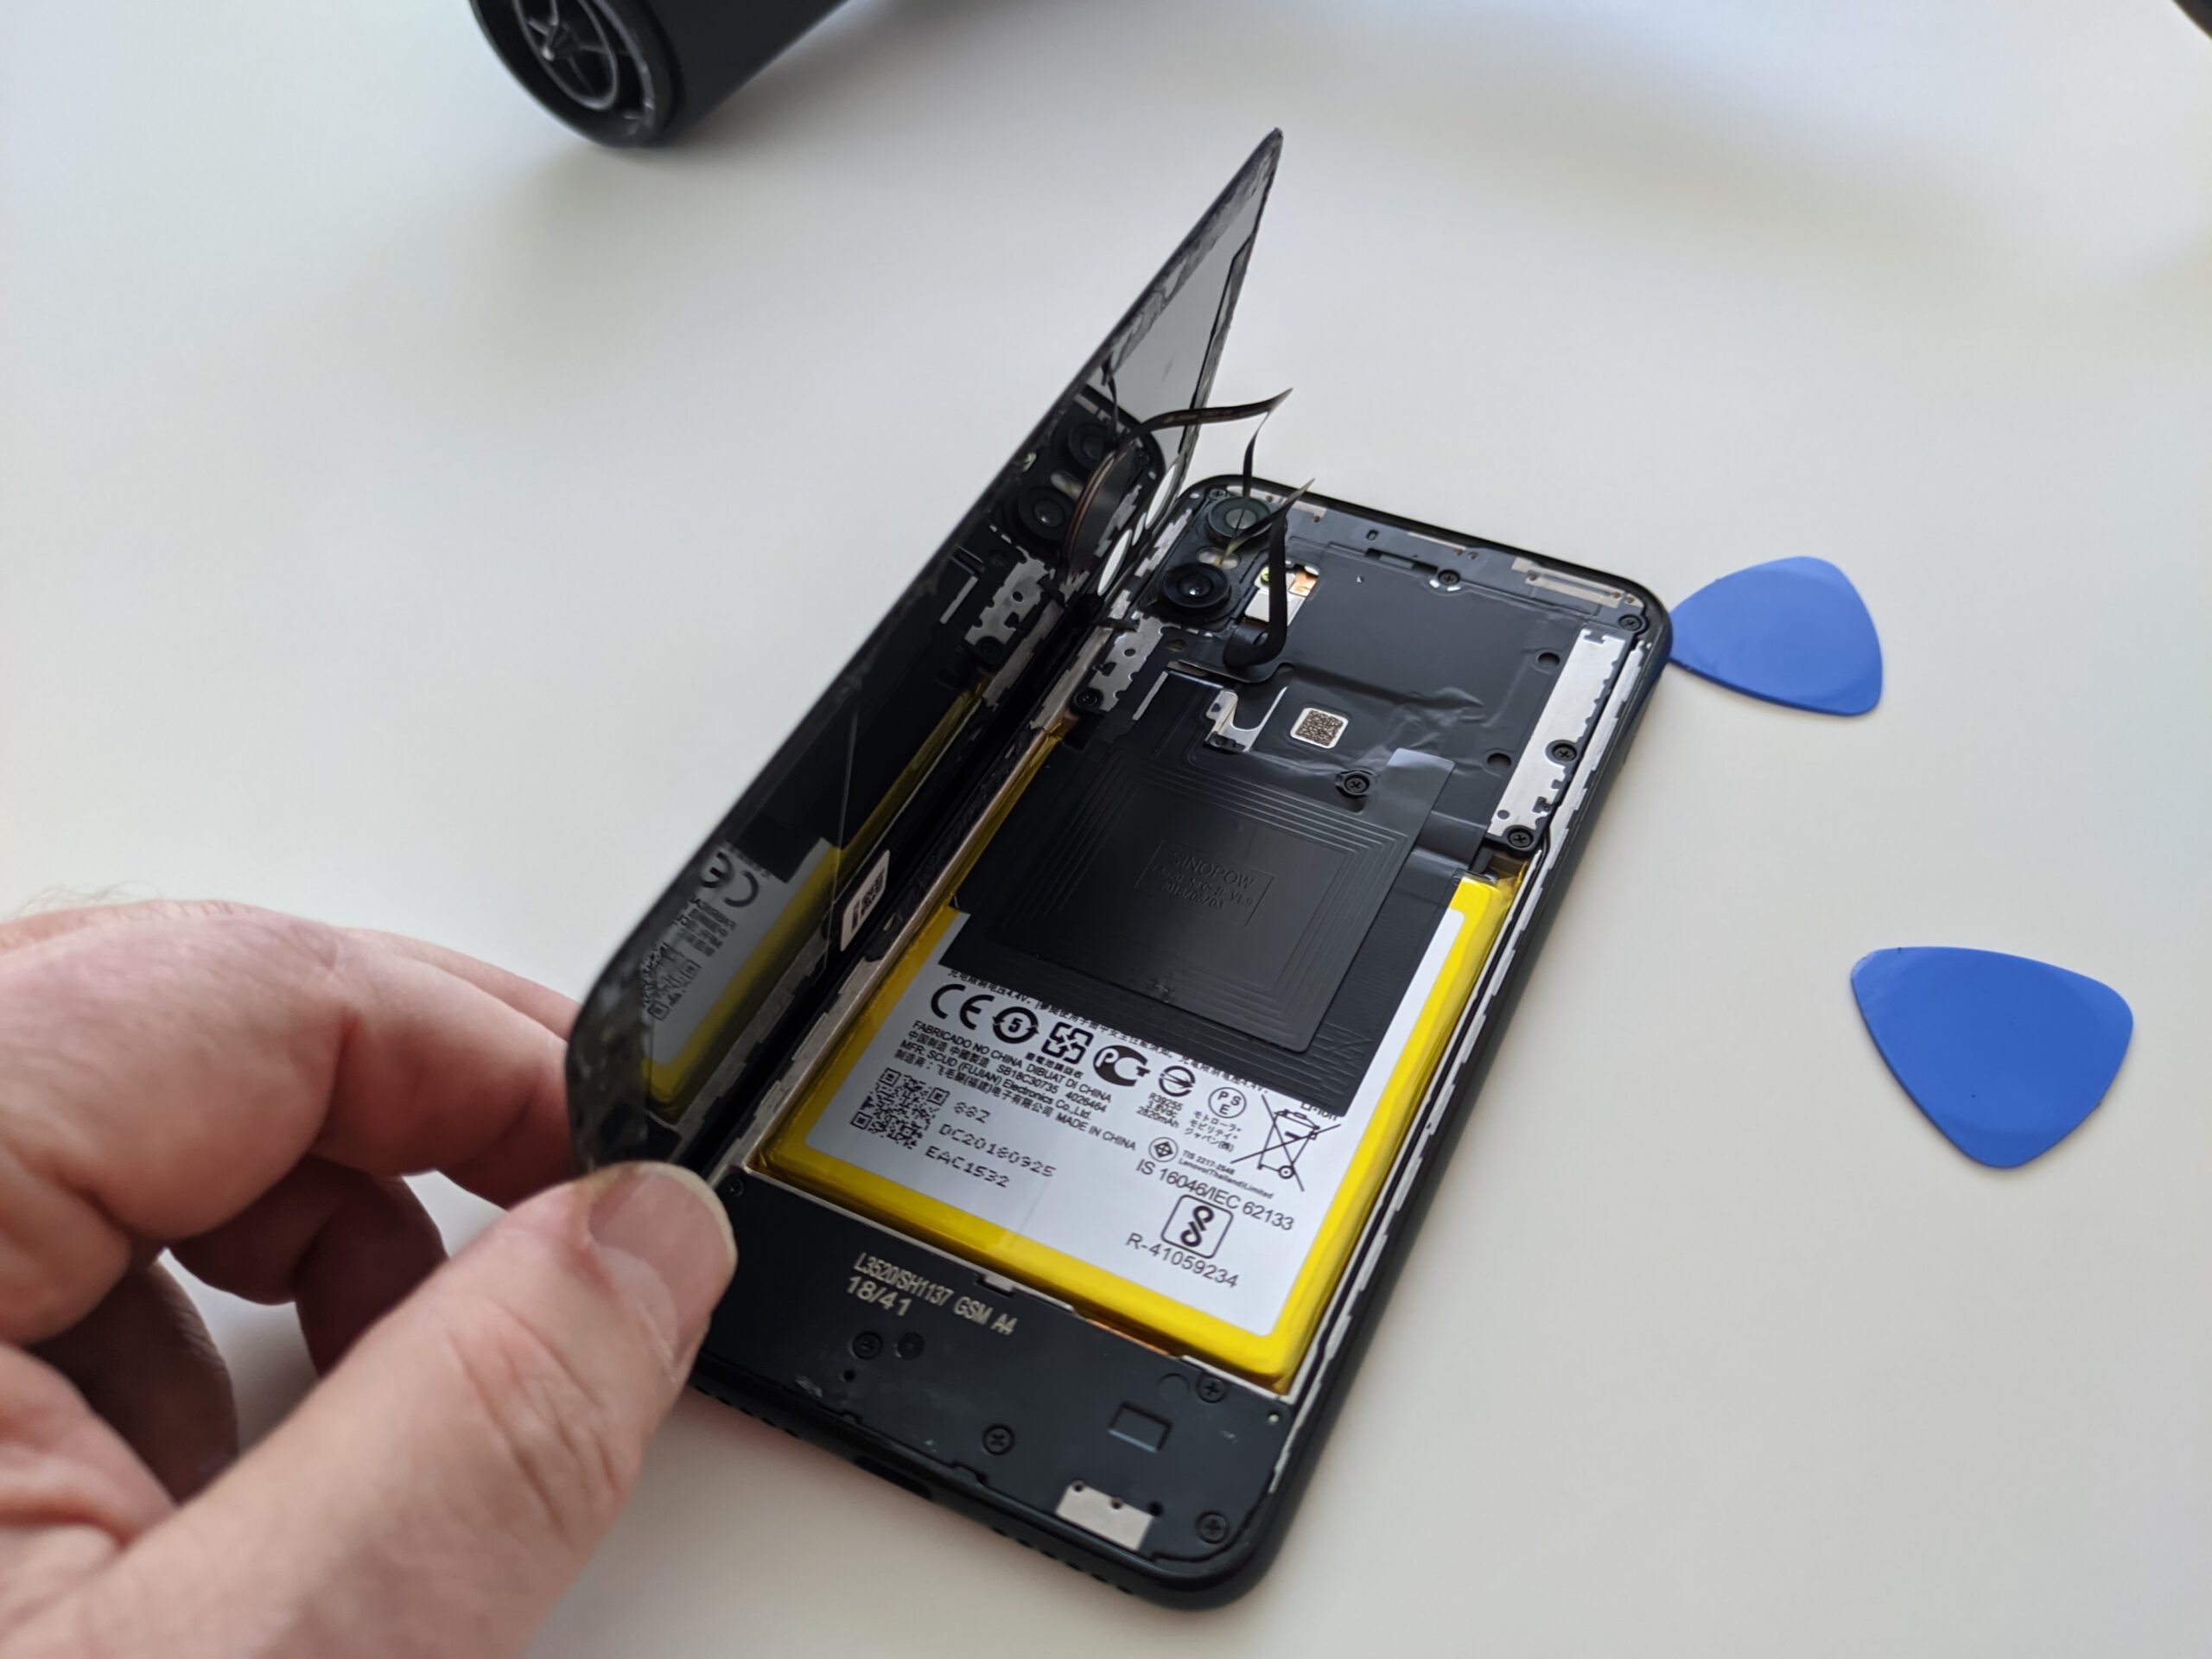
The back, the front and the battery are glued in. In order to open the backside, you need to warm it up using a hair dryer. Don’t hesitate to heat the back to about 40 to 50 degree Celsius. When the glue is getting soft, you should be able to insert a guitar plectrum under the rim of the glass pane. Then you can proceed pulling the plectrum carefully around the rim in order to release it from the frame. Apply more heat if the plectrum won’t move, but in small steps. Have care with the fingerprint sensor cable.
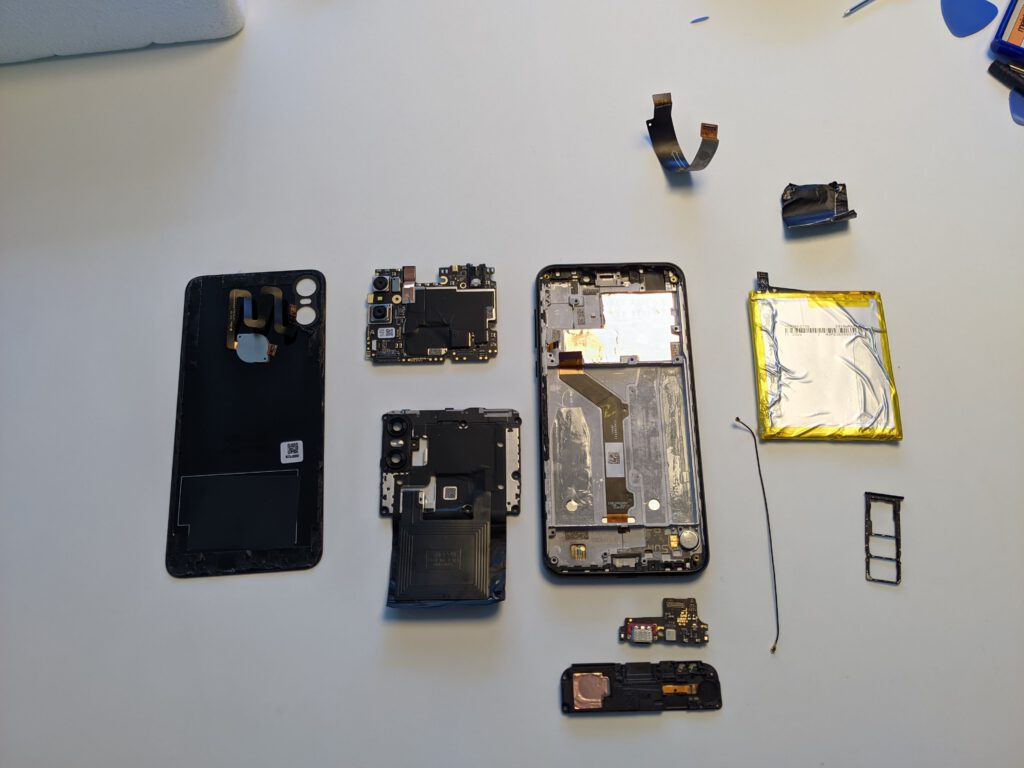
Once opened, the device must be completely disassembled. I do not talk about all the details here, you really should watch the respective instruction videos on Youtube. General advice is: May the force not be with you!
After taking everything apart, you just have to put everything back again, but into the new display frame of course. Careful with the plugs, do not use much force. If they wont fit, better look twice if they are positioned correctly! If you haven’t lost any screws, or damage anything, the assemblage should be quite fast.
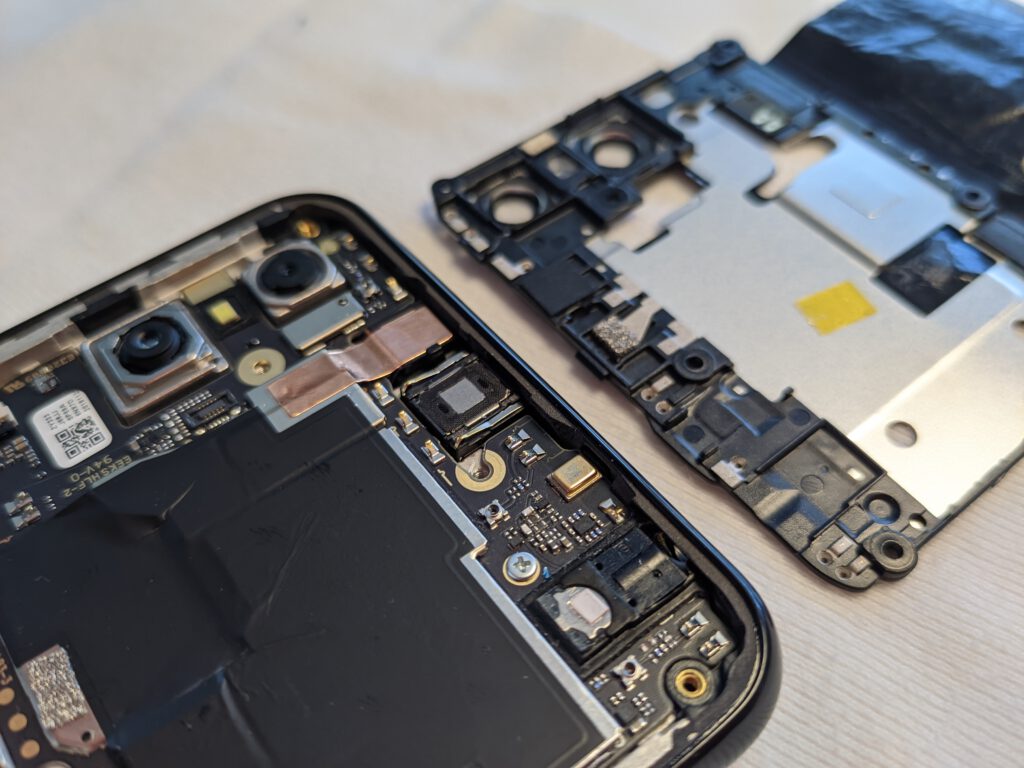
One more hint, since it happend to me this time: Mind the correct position of the earpiece. If the contacts rise in the direction of the rim, it will not work and you will have no sound when making a call. The part has to be installed with the contacts rising in direction of the battery, as it can be seen on the picture. If you inspect the cover part, it will be clear by itself…
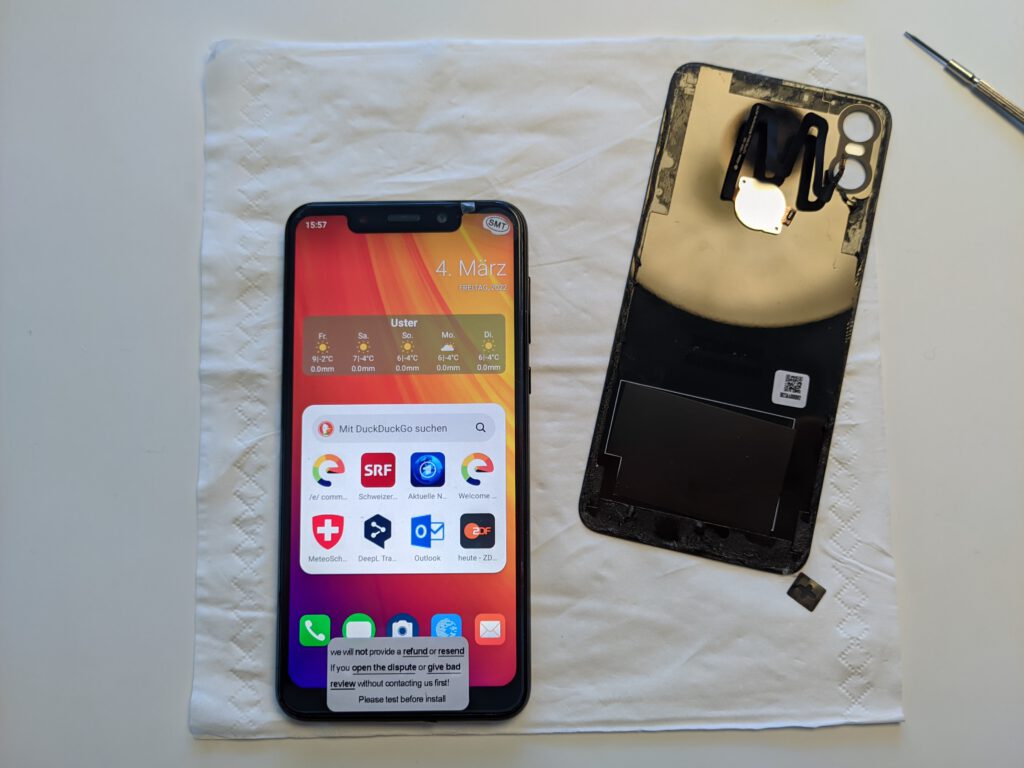
Probably it is a good idea to check the new display as soon as possible, but latest before you glue the backside onto the frame again. The old glue should be enough to fix the back side glass pane when warmed up once again. Just press the back to the frame and let the glue grow cold again.
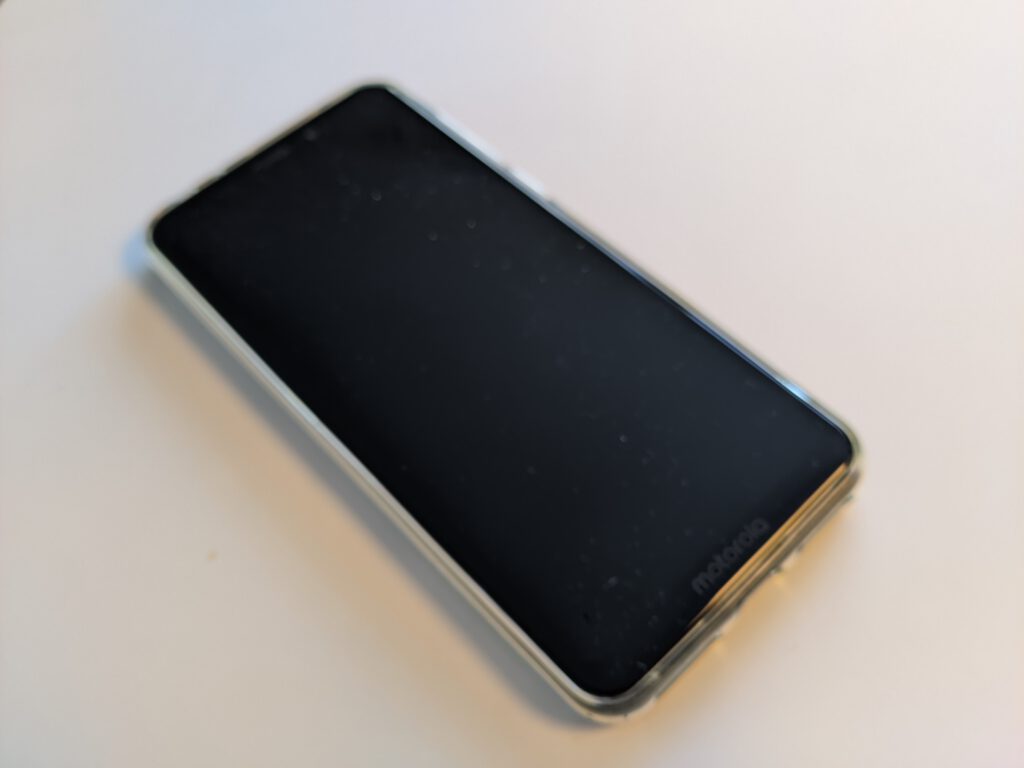
Finally, the device looks as good as new. Speaker, microphone, earpiece and fingerprint sensor work well too. I hope I can avoid the stone floor for some time now, but I feel confident to be able to repair it once again. Practice makes perfect…
Maybe one final conclusion: The device can be disassembled without destroying it, if you know how to go about it. Then the repair is actually not difficult thanks to a high degree of modularization. Also, there are still spare parts on the market, notably batteries and displays, but others too, if you know how to search (also look for „Motorola P30“). The earpiece I took from another device, estimating the right dimensions from pictures. I ordered two different pieces, and one could be installed.
It is by no way rocket science, to repair a smart phone. And if you want to have something new from time to time nonetheless (who wouldn’t?), why not try to find and install some custom ROM on your old device. But this is another story…